Powder & Ombre Brows: Shading Techniques Compared
Powder and ombre brows are both built from tiny pixel-like dots rather than hair strokes. The difference lives in how evenly that density is spread, and where the artist chooses to let it fade.
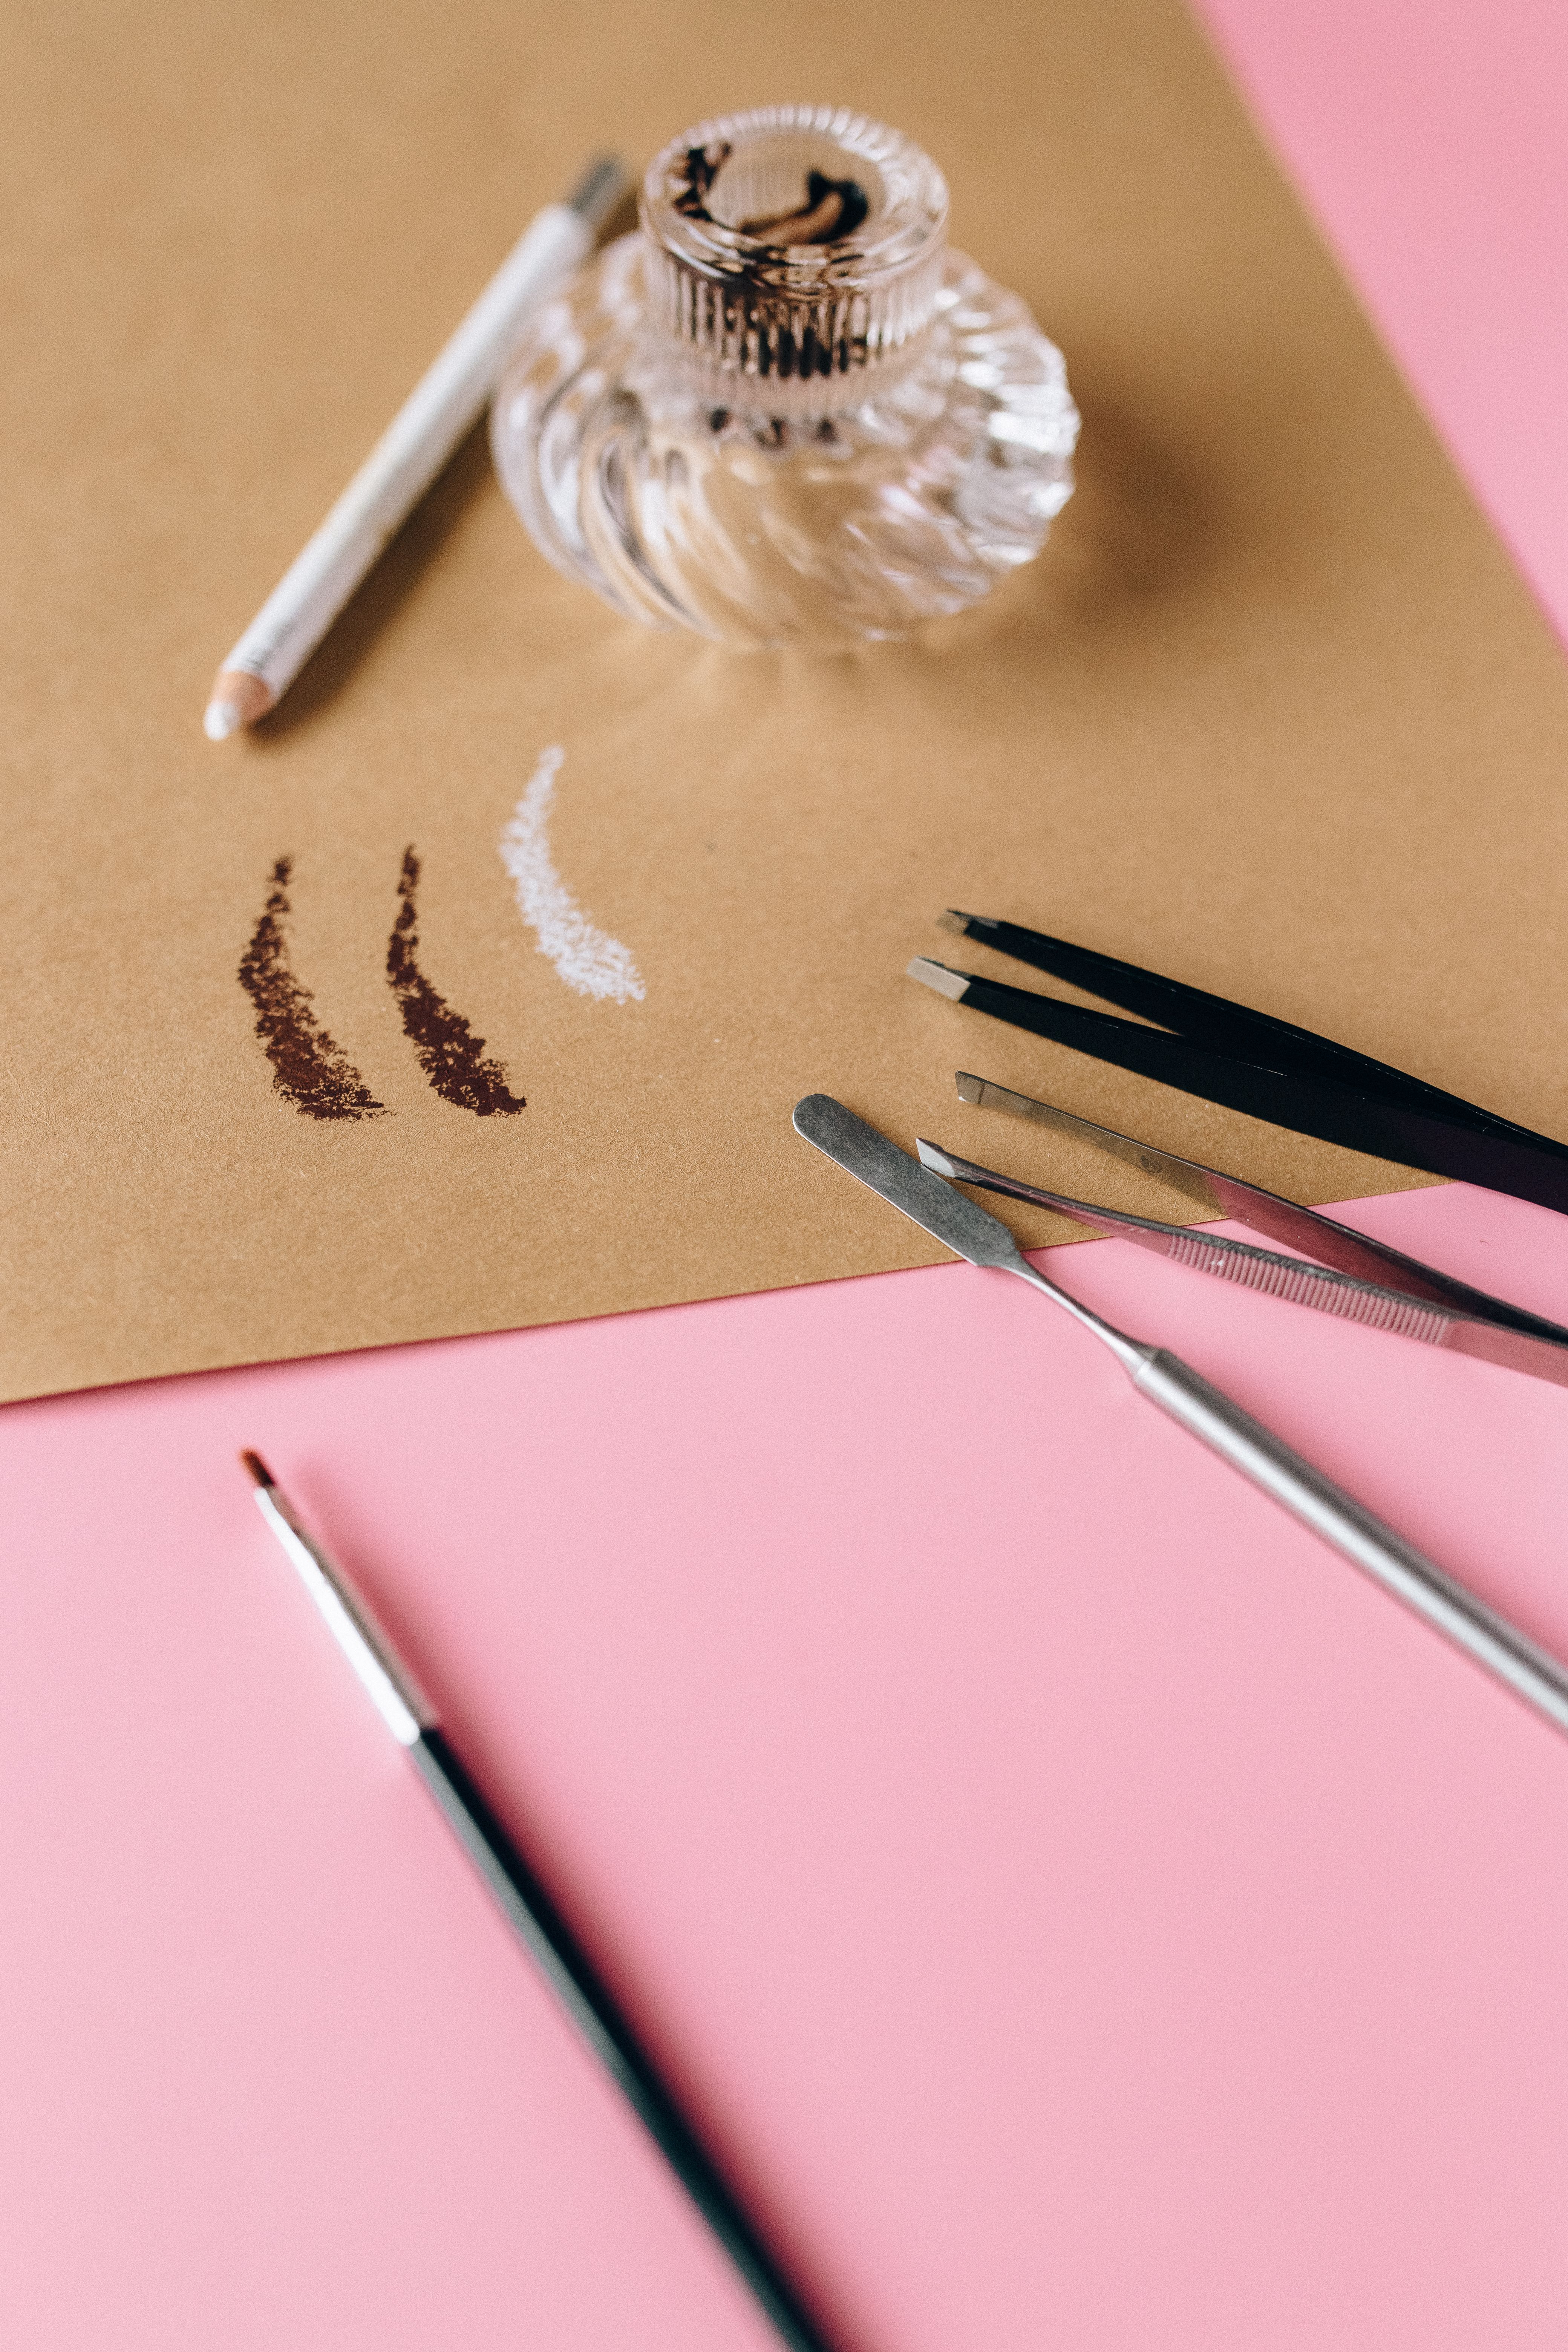
PIGMENT AND BROW SWATCHES
I
Density is a decision
In a shaded brow, tone comes from how closely dots sit together and how many passes the artist lays over the same area. Spaced dots read as a soft haze. Packed dots read as a defined, cosmetic finish.
A powder brow keeps that density fairly even from front to tail, like a lightly pressed powder. An ombre brow deliberately changes it, pale at the front and deeper towards the arch and tail, so the brow reads as a gradient. Both depend on controlled hand speed, consistent machine movement and a brow shape measured before the first pass.
FITTING NOTE
Shading can’t correct a poorly placed shape. Map first, then choose the finish. Read Brow Mapping: Measure Before You Mark.
Powder, ombre, combination
PIECE 05 — POWDER
Powder Brows
Density: even and soft across the whole brow.
Gradient: minimal, with only a gently diffused front edge.
Effect: a filled-in, lightly made-up look.
PIECE 06 — OMBRE
Ombre Brows
Density: graduated, light at the head and building towards the tail.
Gradient: the defining feature, blended in stages.
Effect: depth and definition with a soft start.
PIECE 07 — COMBINATION
Combination Brows
Density: hair strokes at the front, shading through the body.
Gradient: strokes blend into shade instead of dots fading.
Effect: natural texture with shaded structure.
Layer by layer
01 OUTLINE THE PATTERN
The mapped shape sets the borders. Shading stays inside them, so the edges stay clean.
02 SET THE LIGHTEST ZONE
For ombre, the front of the brow gets a sparse, open dot pattern. For powder, a first even layer goes across the whole brow.
03 BUILD THE BODY AND TAIL
Extra passes are added only where deeper tone is wanted, which is how the gradient appears.
04 STEP BACK AND BALANCE
Compare both brows from a distance. Adjust density rather than size so the pair still matches the map.
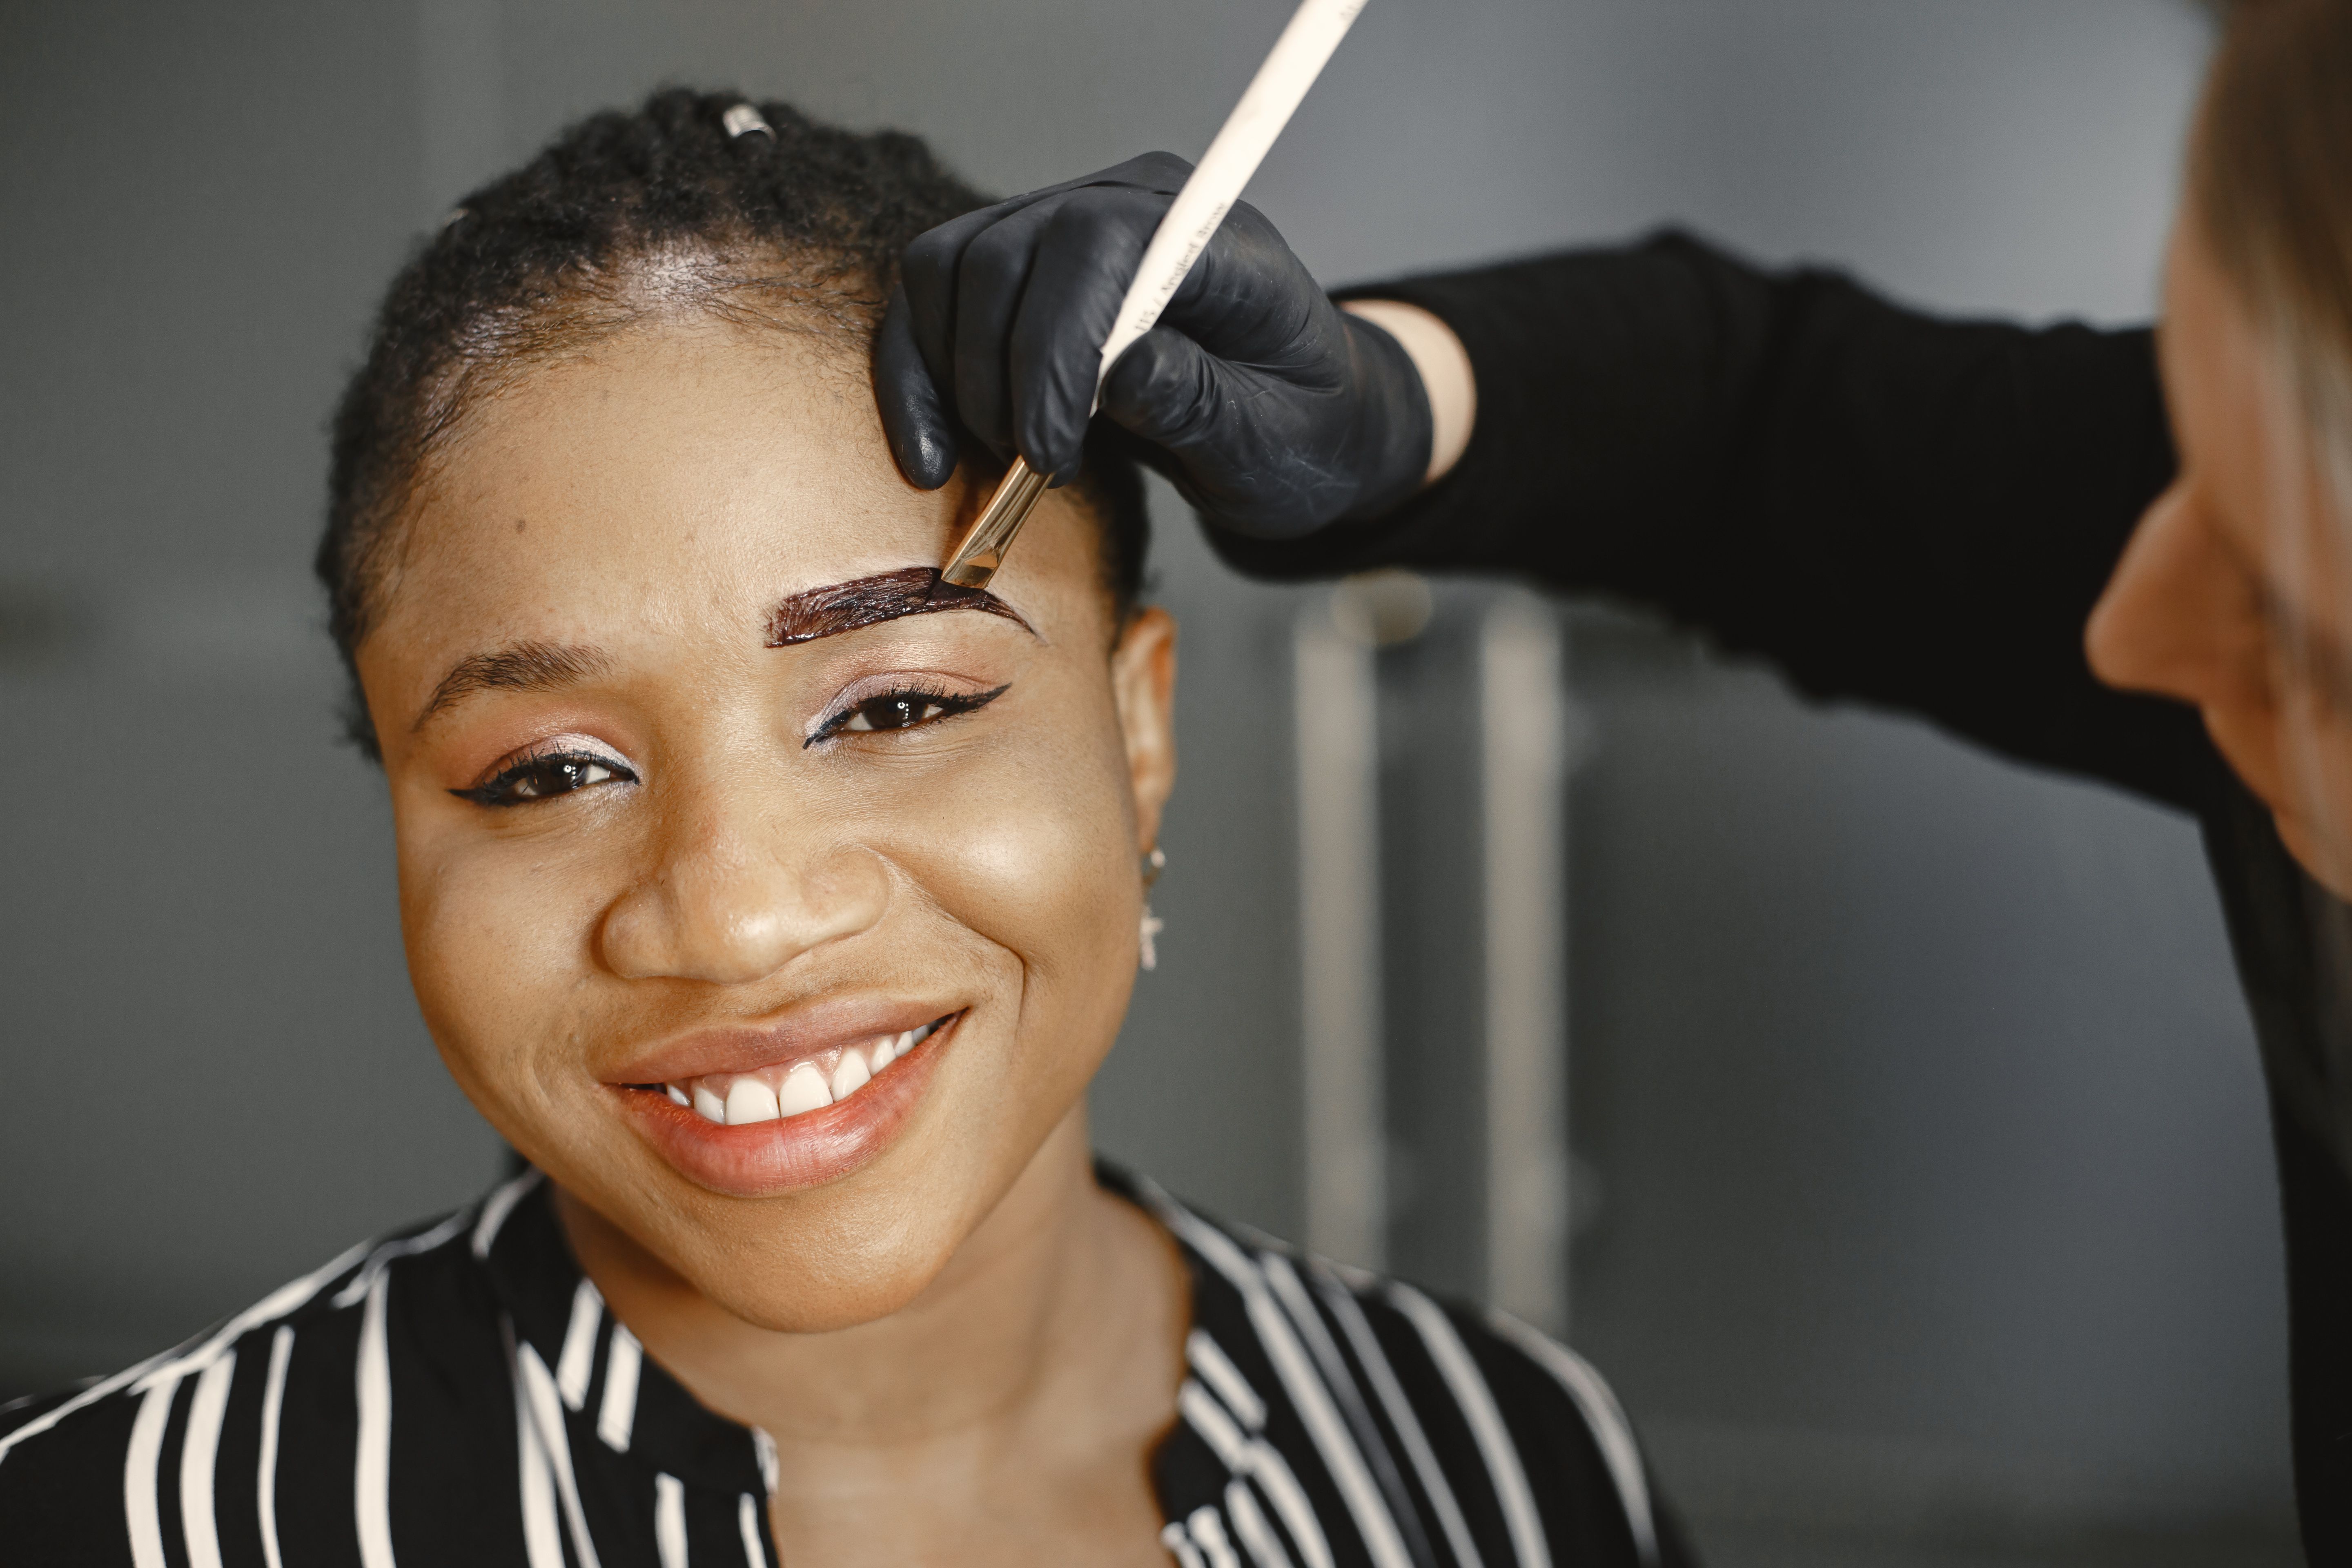
III — LAYERING PIGMENT AT THE BROW, REFERENCE IMAGE
Which effect suits
If the design calls for a soft, even fill…
powder shading suits clients who want a light make-up look without a strong front edge.
If the design wants a defined arch and tail…
ombre lets the front stay airy while the structure builds towards the end of the brow.
If the front needs to look like real hair…
strokes at the head with shade behind them lead to combination work.
If you are new to brows altogether…
start with the foundations in the Eyebrow Tattoo Course before choosing a shading specialty.