MEASUREMENTS IN THIS GUIDE
I The string line
II Three proportion points
III Symmetry, not sameness
IV The consultation fitting
V Where mapping leads
Brow Mapping: Measure Before You Mark
Whatever technique you go on to learn, hair strokes, powder shading or a combination of both, every brow starts as a measurement. Mapping is how an artist turns a face’s own proportions into a shape the client agrees to before any pigment goes in. This guide covers string mapping, proportion points, symmetry and the consultation that ties them together.
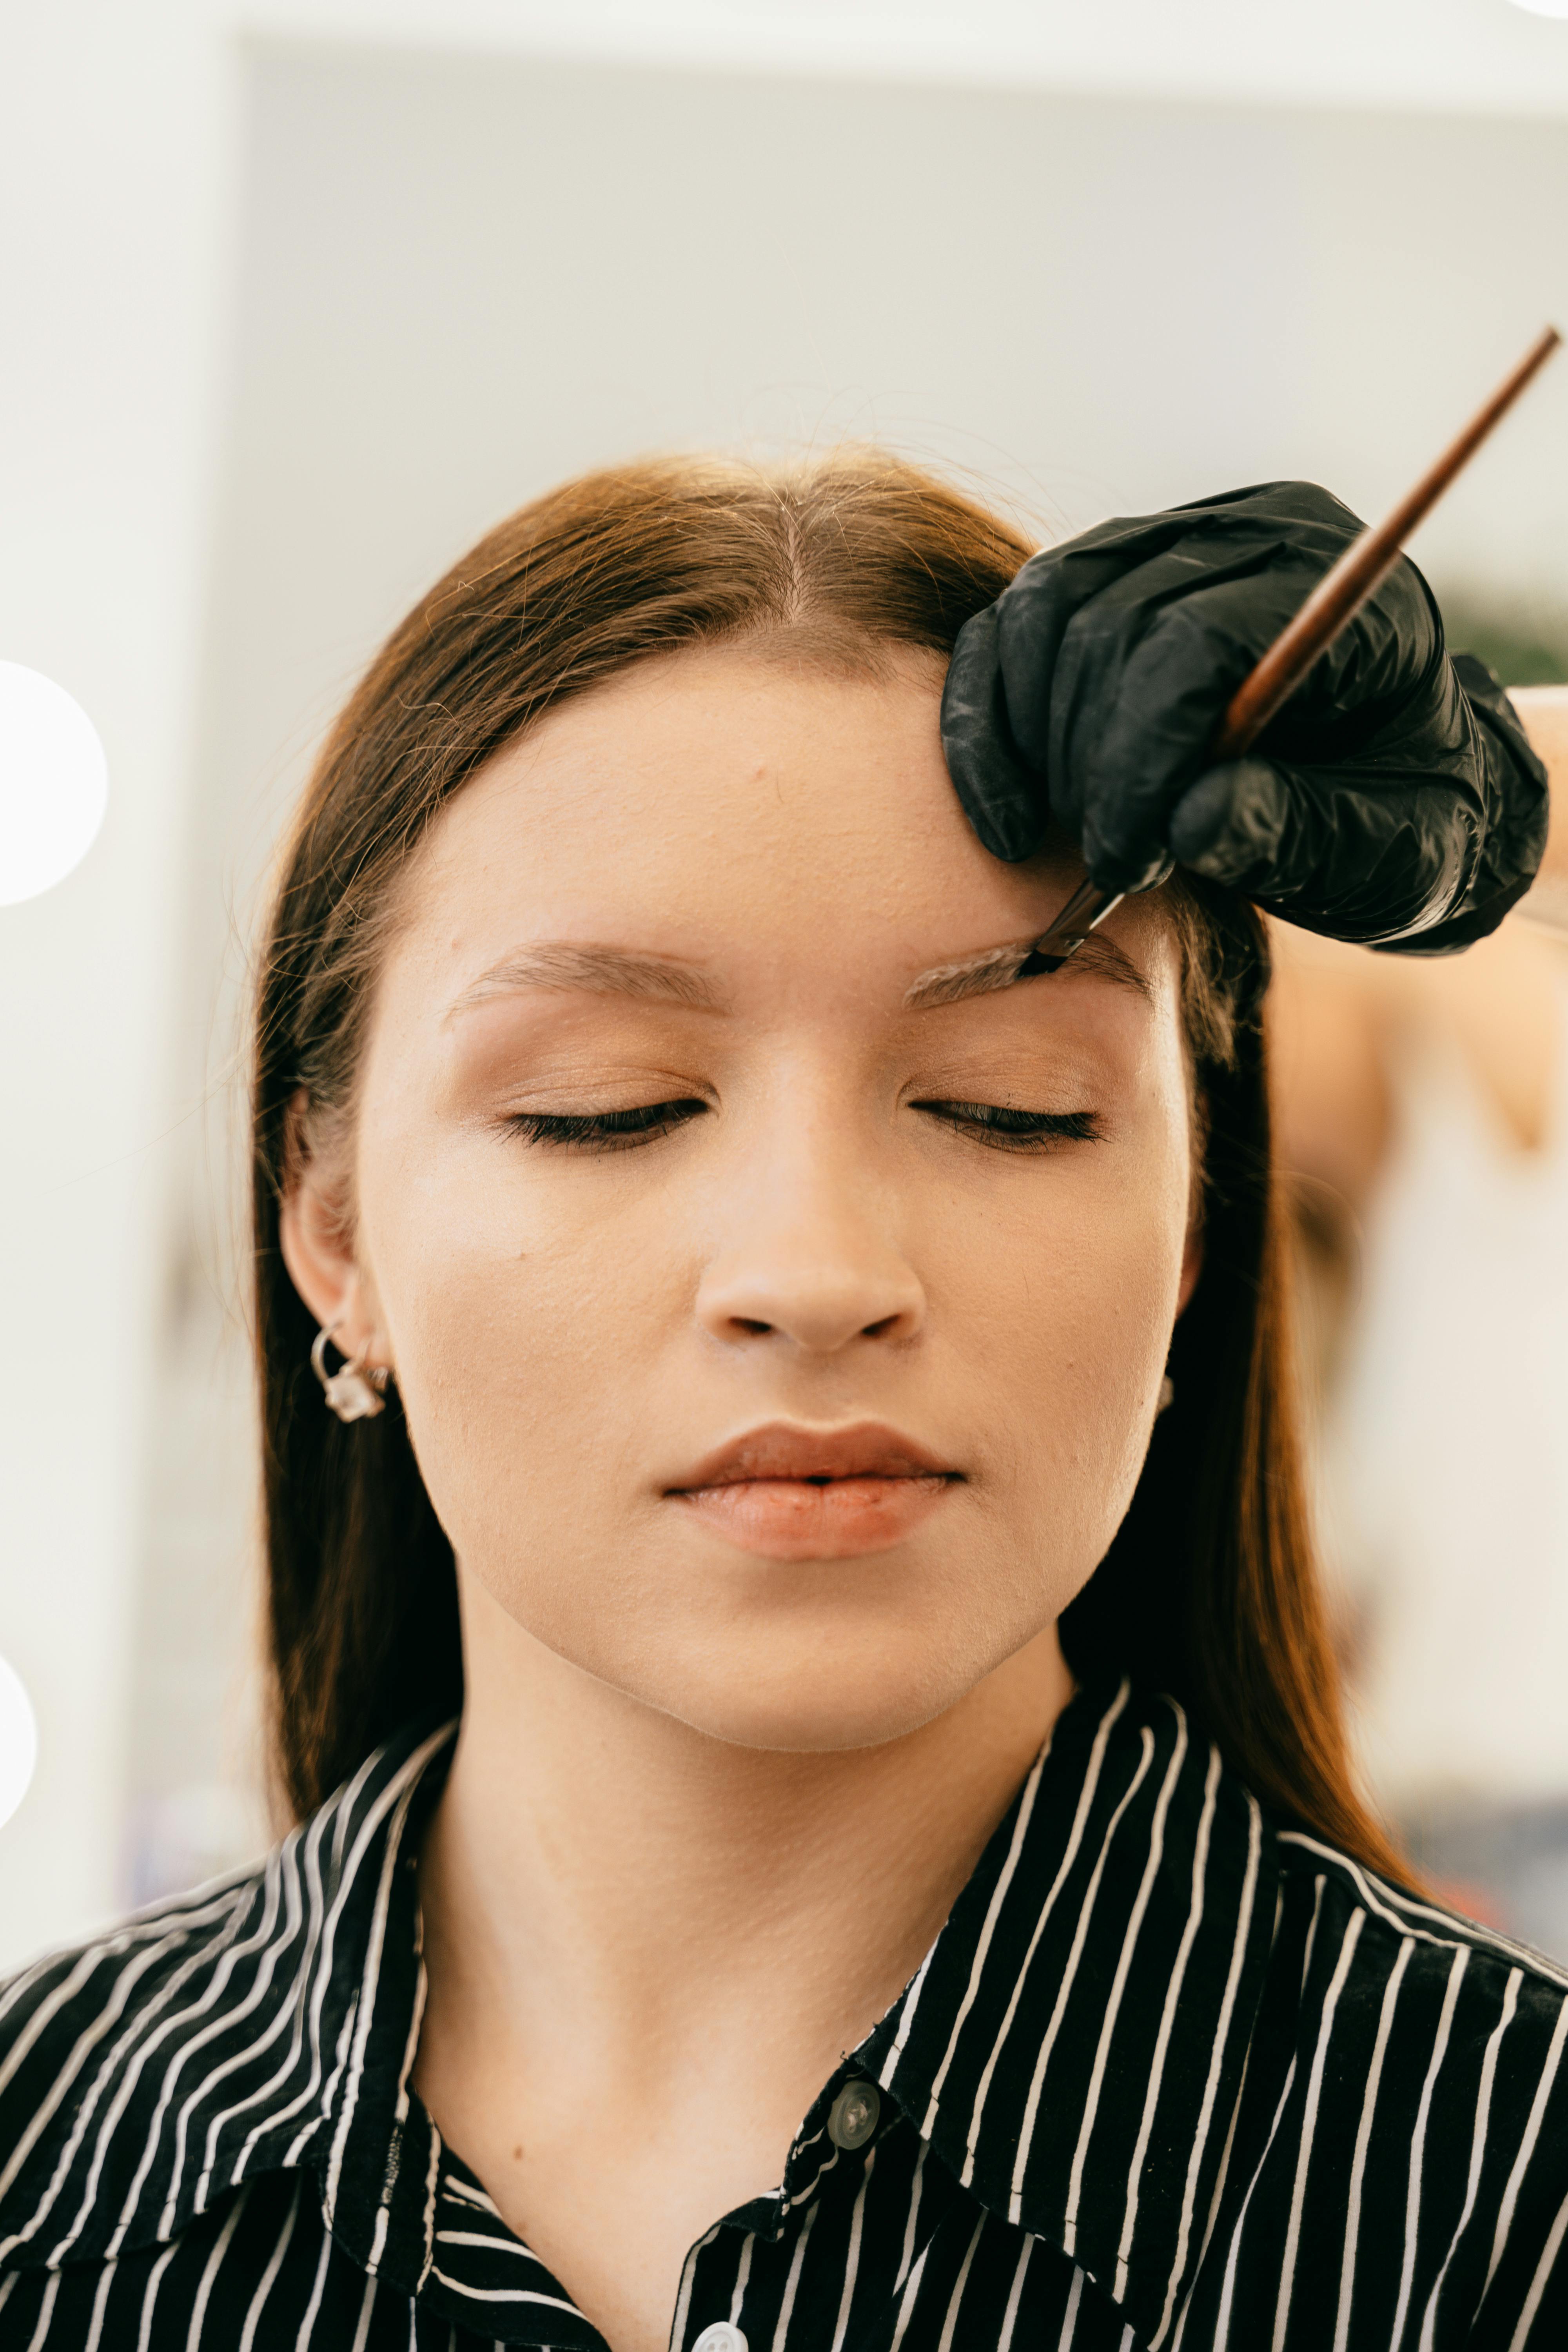
PIGMENT REFINED ALONG THE BROW
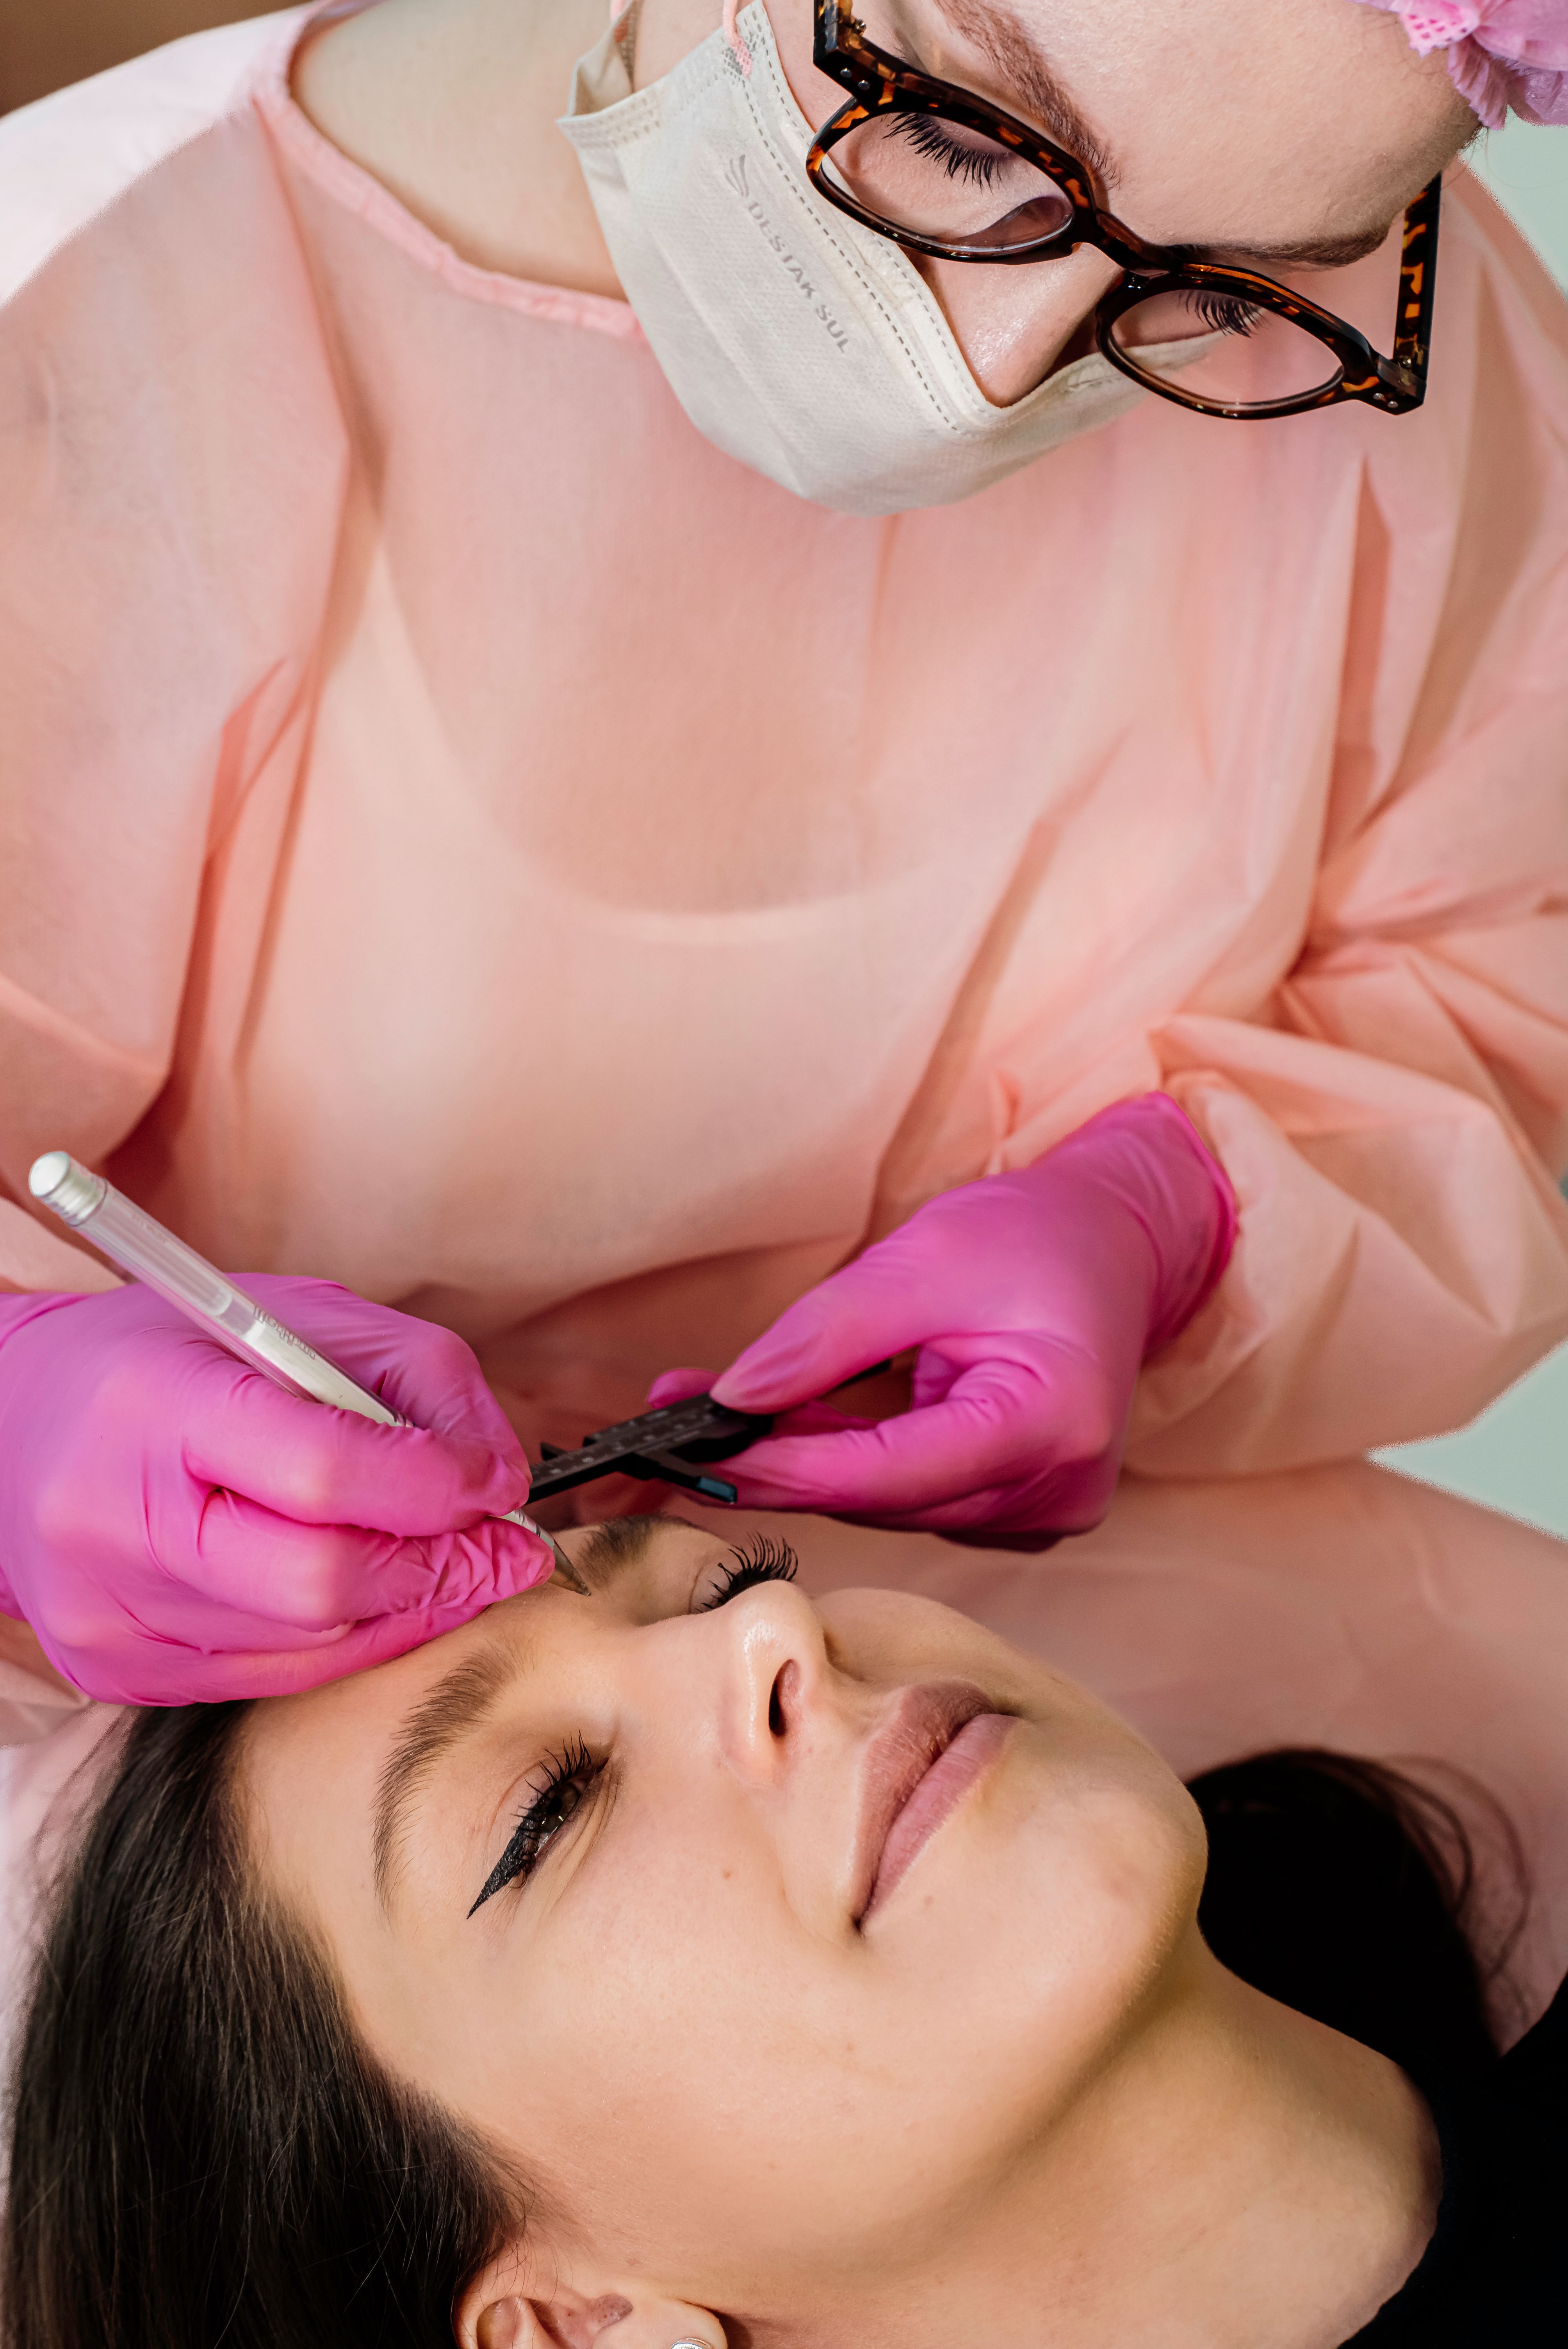
MAPPING ON A RECLINING CLIENT
I
Measure
String mapping uses a fine thread coated in pre-ink or mapping paste. Pulled taut and pressed lightly against the skin, it leaves a clean, straight guide line that a hand-drawn pencil line rarely matches.
The first lines are usually a horizontal and a vertical centre line, then a line through the top and bottom of each brow. Everything else is measured from this frame, so a crooked first line throws off every point after it.
Because the string marks only the surface, the artist can wipe it away and redraw it as many times as needed. That freedom to redraw is the whole point: you correct the pattern, never the tattoo.
Three points
Classic brow proportion uses the nose and eyes as landmarks. These are starting measurements, not fixed rules. Bone structure, natural hair growth and the client’s own preference all adjust the final cut.
POINT 01 — START
Where the brow begins
A vertical line from the outer edge of the nostril sets the brow’s start. It controls how close the brows sit, which changes how open or narrow the whole face reads.
POINT 02 — ARCH
Where the brow lifts
An angled line from the nostril, passing the outer edge of the iris, marks where the arch usually peaks. Moving it a few millimetres in or out softens or sharpens the brow’s expression.
POINT 03 — TAIL
Where the brow finishes
A line from the nostril past the outer corner of the eye shows where the tail ends. The tail should finish no lower than the start, or the brow can look like it is dropping.
III
Balanced brows
No face is perfectly symmetrical. One eye may sit higher, one brow bone may be fuller, and many people lift one brow more when they talk. If you copy one side onto the other exactly, the result can look more uneven on a moving face.
Good mapping aims for visual balance. Check the drawing with the client sitting upright rather than reclined, with a relaxed expression and then with the brows raised, and from straight on, in profile and in a mirror. Adjust until the pair reads as a matched set.
FITTING CHECKS
Client upright, face relaxed
Brows raised and lowered
Front, profile and mirror view
Start and tail on a level line
The fitting
Measurements give you a shape, but the consultation decides whether it suits this client. A trained artist asks these questions before mapping, and again once the drawing is on the skin:
iHow does the client fill or shape their brows now, and what do they want to change?
iiWhere does the natural hair grow, and in which direction?
iiiIs there previous brow tattoo that the new shape must work with?
ivWould a soft, natural look or a defined, polished finish suit their everyday style?
vHas the client seen the mapped shape in a mirror and approved it?
The last question matters most. Only the agreed drawing becomes the pattern, and that approval is part of the craft, not a courtesy.
One measure
01Eyebrow Tattoo Course — where mapping is first taught
02Microblading Course — strokes placed along the map
03Feathering Course — flow that follows hair growth
04Nano Brows Course — machine strokes inside the frame
05Powder Brows Course — even density to a clean edge
06Ombre Brows Course — a fade set by the start point
07Combination Brows Course — strokes and shade on one map
08Advanced Eyebrow Tattoo Training — refining difficult proportions