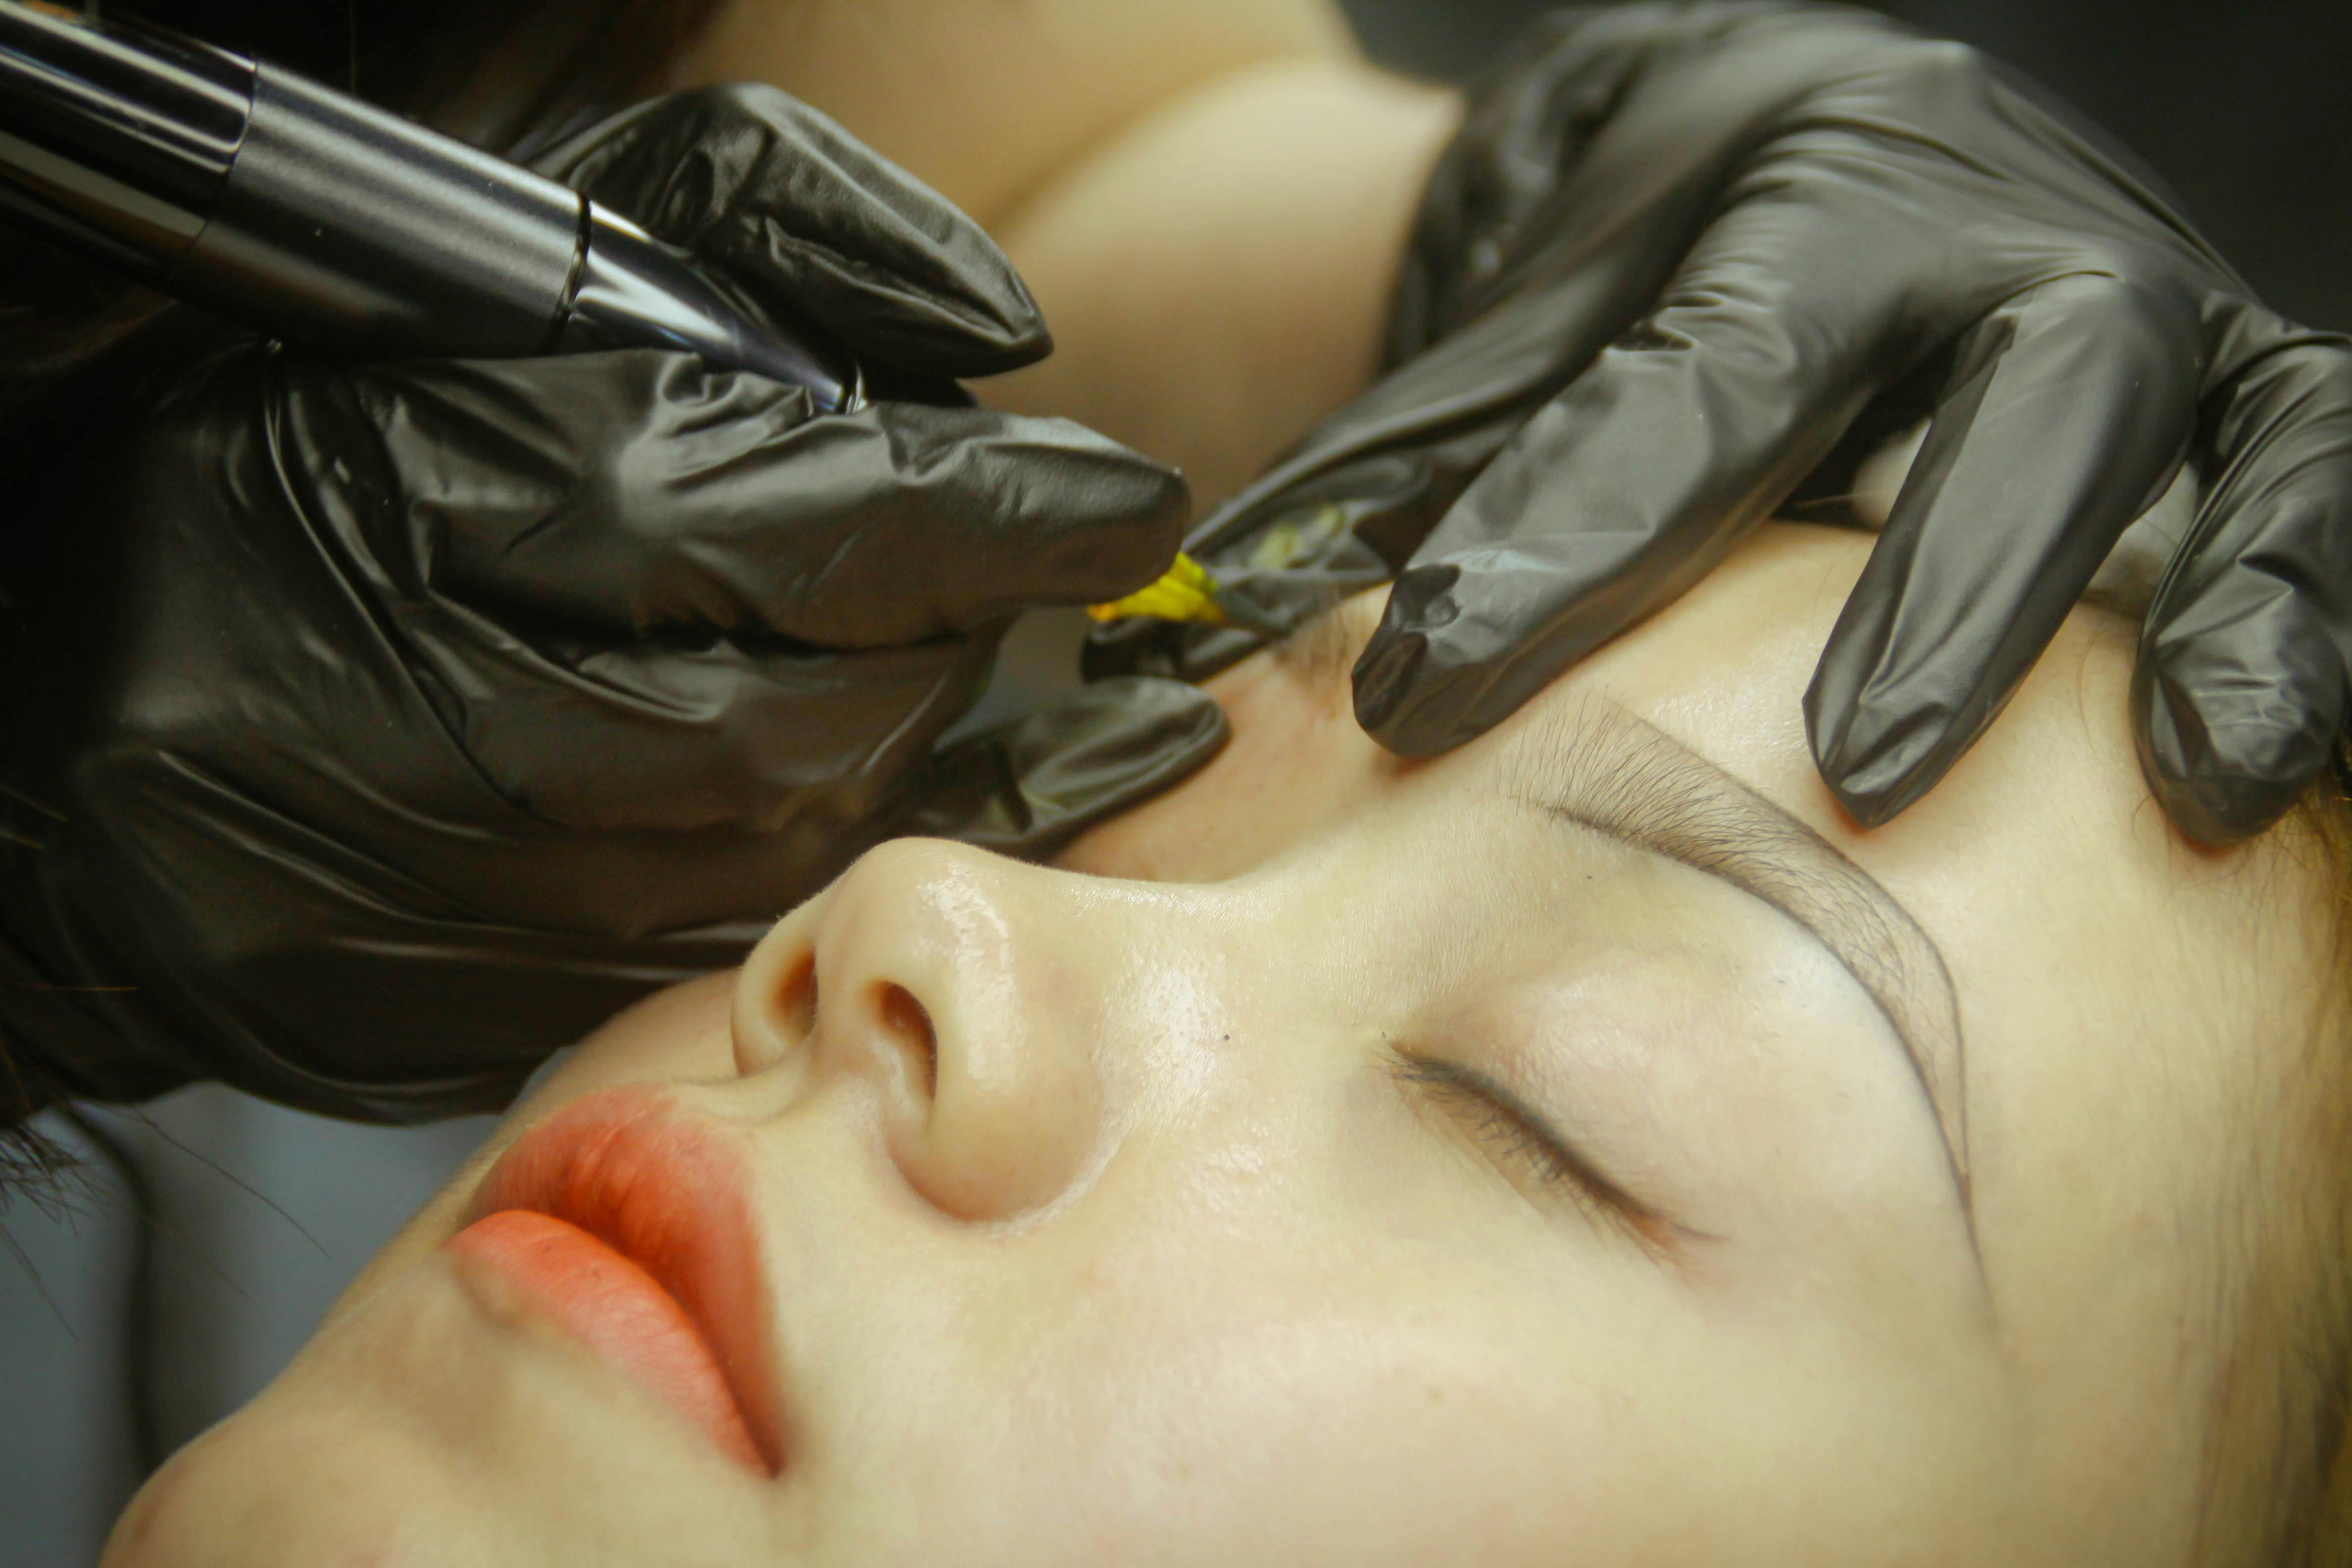
HAIR STROKE · WORK AT THE BROW, REFERENCE IMAGE
Microblading Explained for Aspiring Artists
Microblading is the brow technique where the artist’s hand does the cutting, not a machine. This guide covers how a stroke is made, which skills to build first and how the technique compares with feathering and nano brows.
I
I — THE PATTERN
What microblading is
Microblading is a manual cosmetic tattoo technique. The artist holds a hand tool fitted with a row of very fine needles, often called a blade, and draws it through the skin to place pigment in thin lines that look like individual brow hairs. Because every line is made by hand, the finished brow depends on how steadily the artist controls angle, pressure and rhythm.
It suits clients who want a brow that reads as natural hair rather than make-up. For you as a student, that means precision matters more than speed. A stroke placed in the wrong direction stays visible, so the craft starts with learning to plan before you cut.
TOOL — HAND BLADE
RESULT — HAIR STROKE
FIRST STEP — THE MAP
II — THE CUT
How a stroke is made
Each line on a microbladed brow is the result of the same sequence. It is repeated with small changes of direction as the strokes move from the front of the brow to the tail.
01 — MAP
Measure and draw the brow shape first, marking where the brow starts, peaks and ends. Strokes follow this map, never guesswork. The Brow Mapping guide covers this step in depth.
02 — STRETCH
The free hand holds the skin taut so the blade travels cleanly. Uneven tension is one of the most common reasons a line wavers.
03 — DRAW
The blade is pulled in one controlled movement, following the natural direction of hair growth: upward at the front, flowing across the body and tapering toward the tail.
04 — READ
After each pass the artist wipes, checks spacing and depth against the map, then decides where the next stroke belongs.
III — THE FITTING
Skills to develop
Hand control
Consistent pressure and a relaxed wrist come from repeated stroke drills on practice skin, long before live work.
Pattern design
Learning to lay out stroke direction, length and spacing so the brow looks like hair, not a row of identical marks.
Reading skin and hygiene
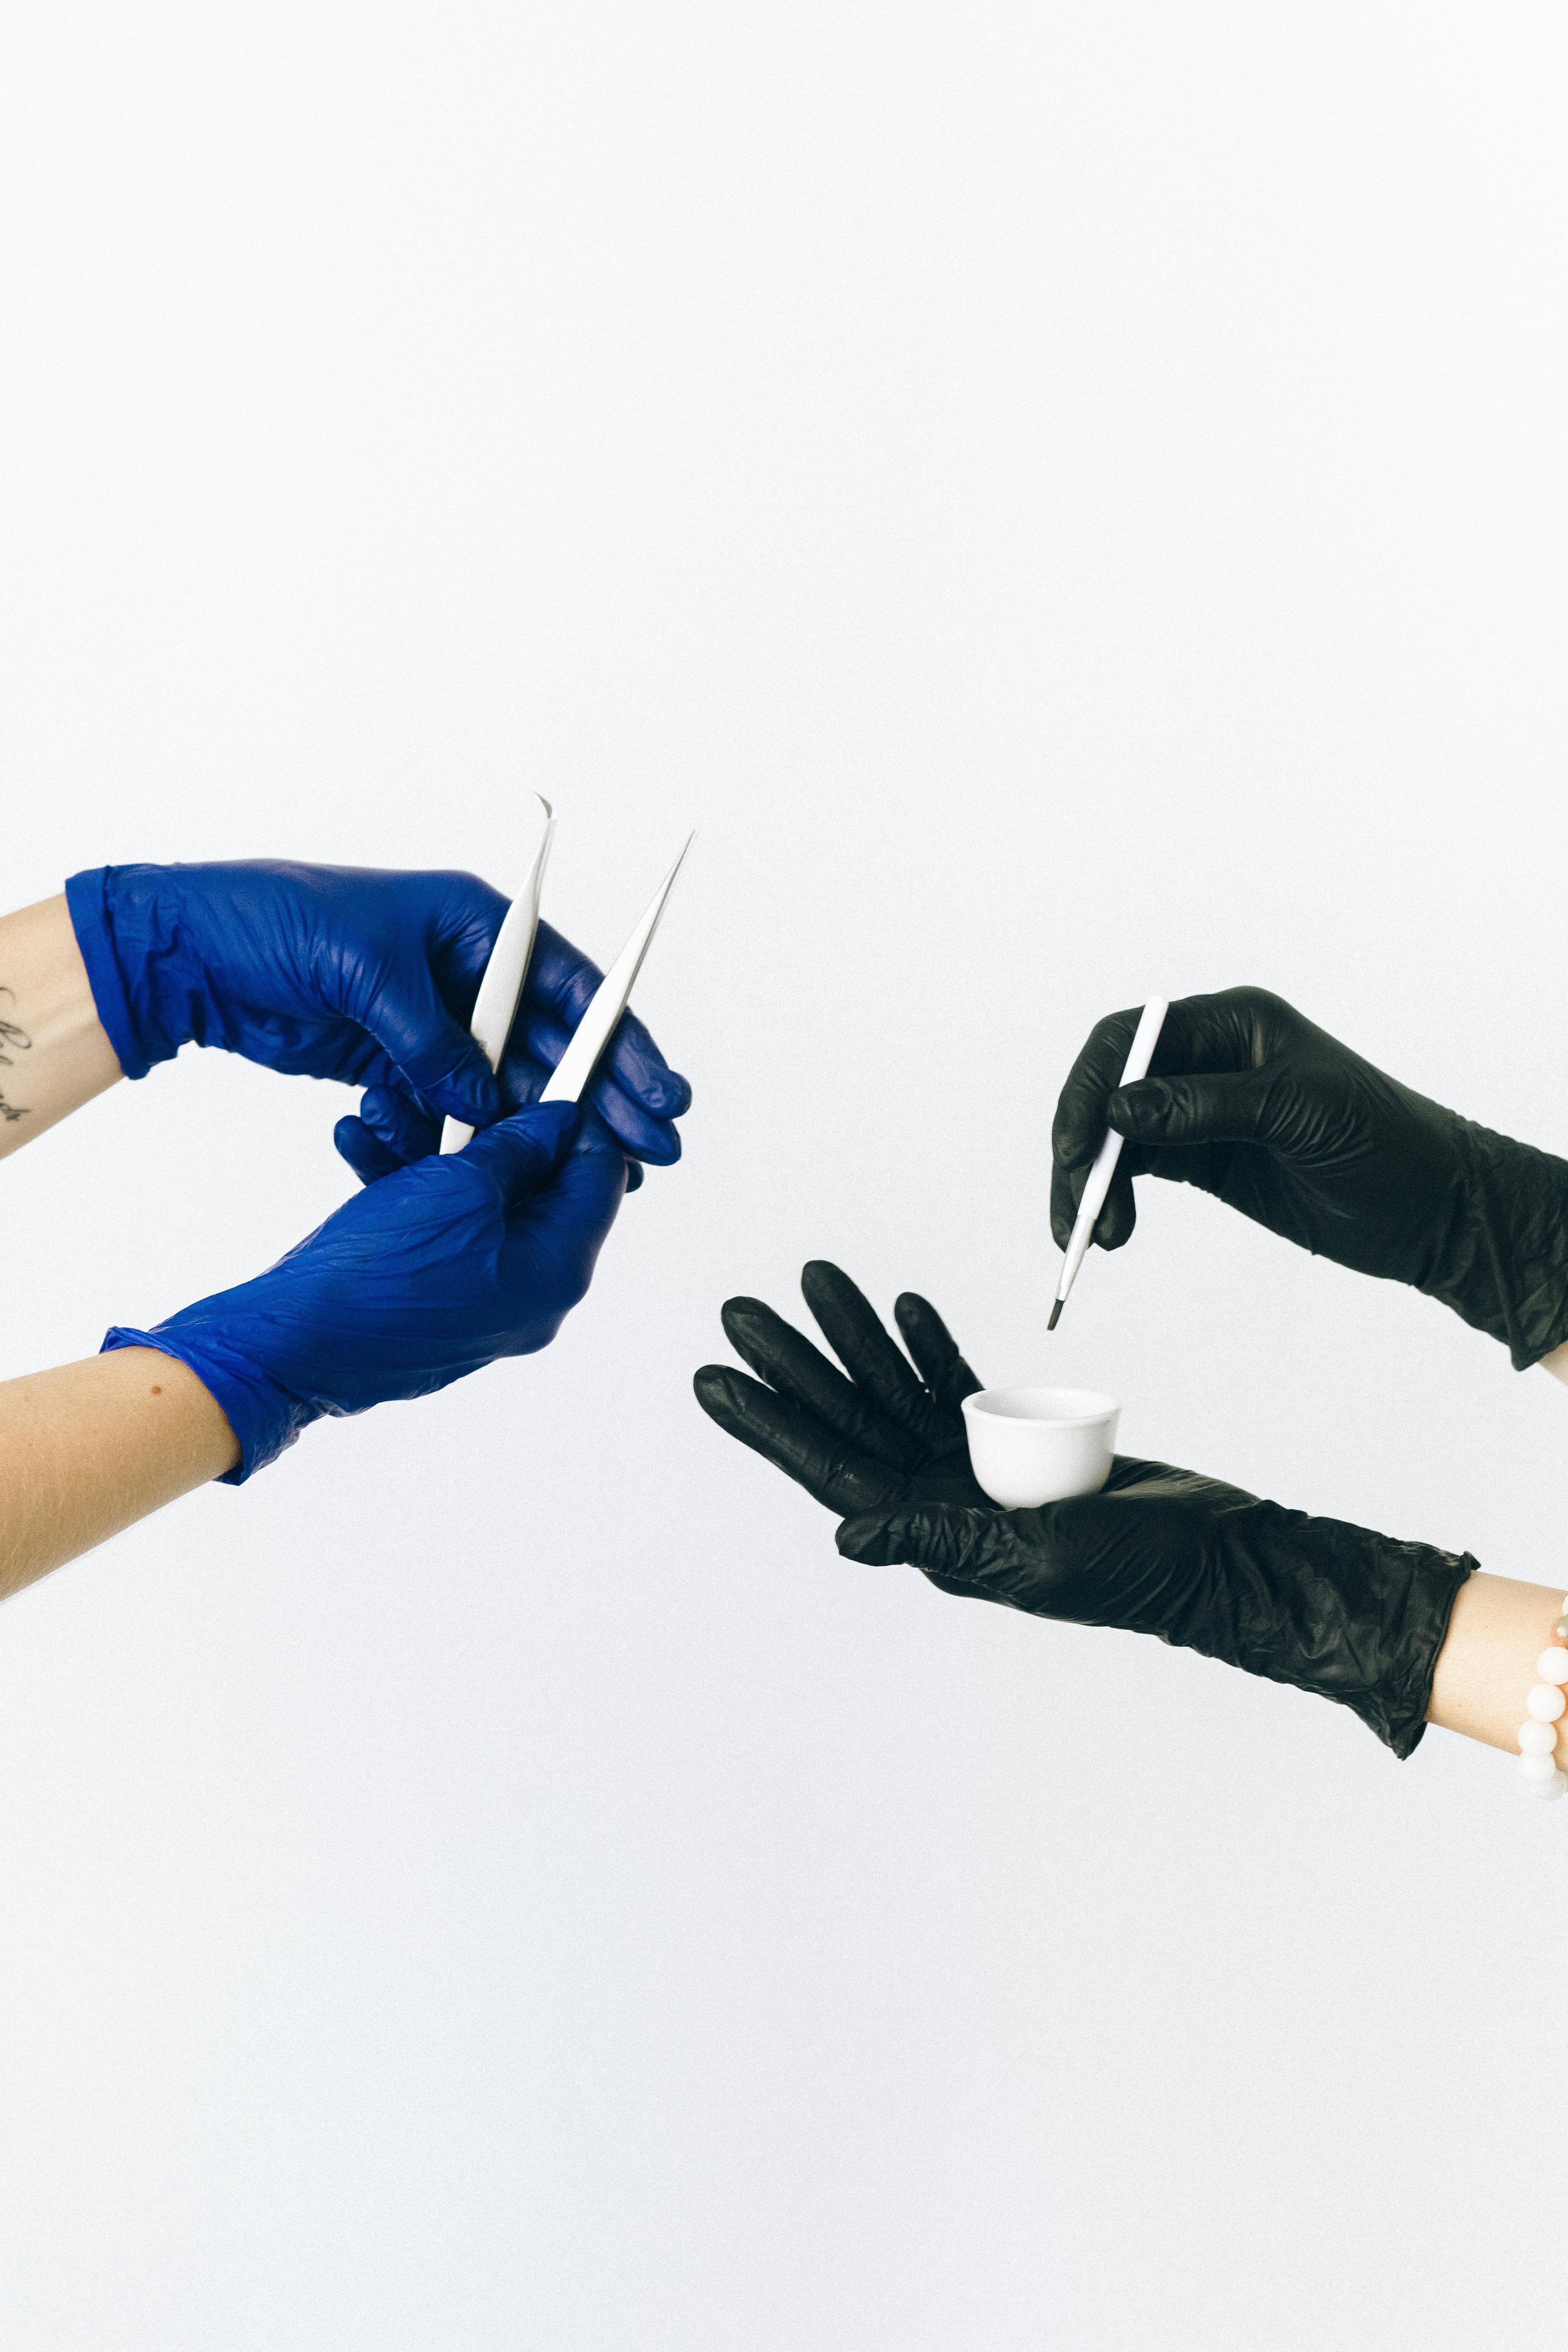
FITTING · GLOVED HANDS AND FINE TOOLS, REFERENCE IMAGE
IV — CHOOSE YOUR CUT
Microblading, feathering and nano brows
Microblading
Hand tool, fine blade. Crisp, drawn hair strokes shaped entirely by the artist’s hand movement.
PATTERN 03
Feathering
A name many artists use for soft, layered hair-stroke brows. The emphasis is on a feathered finish rather than one specific tool.
PATTERN 04
Nano brows
A machine with a single fine needle creates the strokes. Control comes from machine handling rather than a pulled blade.
V — PREPARE
Before you enquire
Do you want to work by hand, by machine, or learn both?
Are you new to brows, or already trained in one stroke technique?
Would shading, as in combination brows, suit the clients you want?
Have you read Choosing a Cosmetic Tattoo Course?